

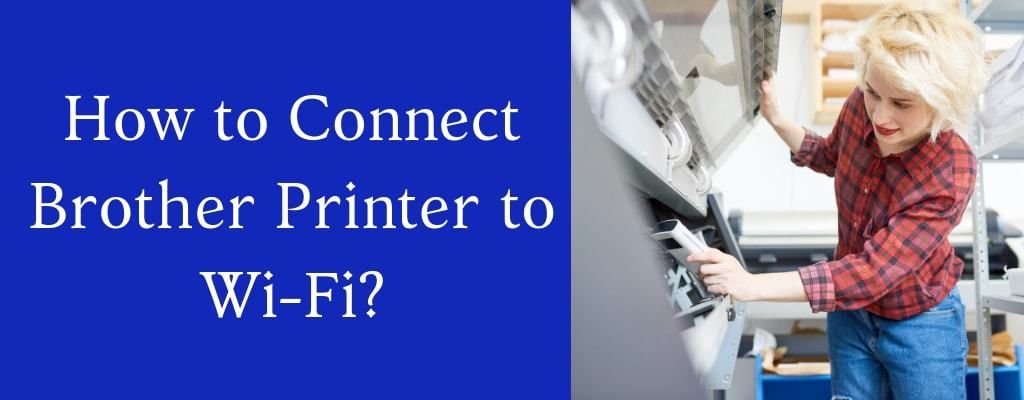
How to Connect Brother Printer to wifi
Brother is one of the world’s trusted brands in the manufacture of printers. For its other products such as fax machines, printers, sewing machines, etc., it also won global recognition. Brother printers have managed to do quite a successful business in the technological world. We’re going to teach you how to connect Brother Printer to WiFi in this post. In the simplest way, we’ve brought you the easiest methods.
Fast Hacks To Link Brother Printer To Wifi
We’re going to show you two ways to conveniently configure the printer. You will learn your router’s Wireless Network Settings before we continue. Check and maintain the following records:
- Network Name (both SSID and ESSID)
- Password, Encryption Key, and other Network Key information.
Mostly use the first WEP KEY for Brother printers. If your router uses additional WEP KEYs, enter the first KEY. Let’s continue with it.
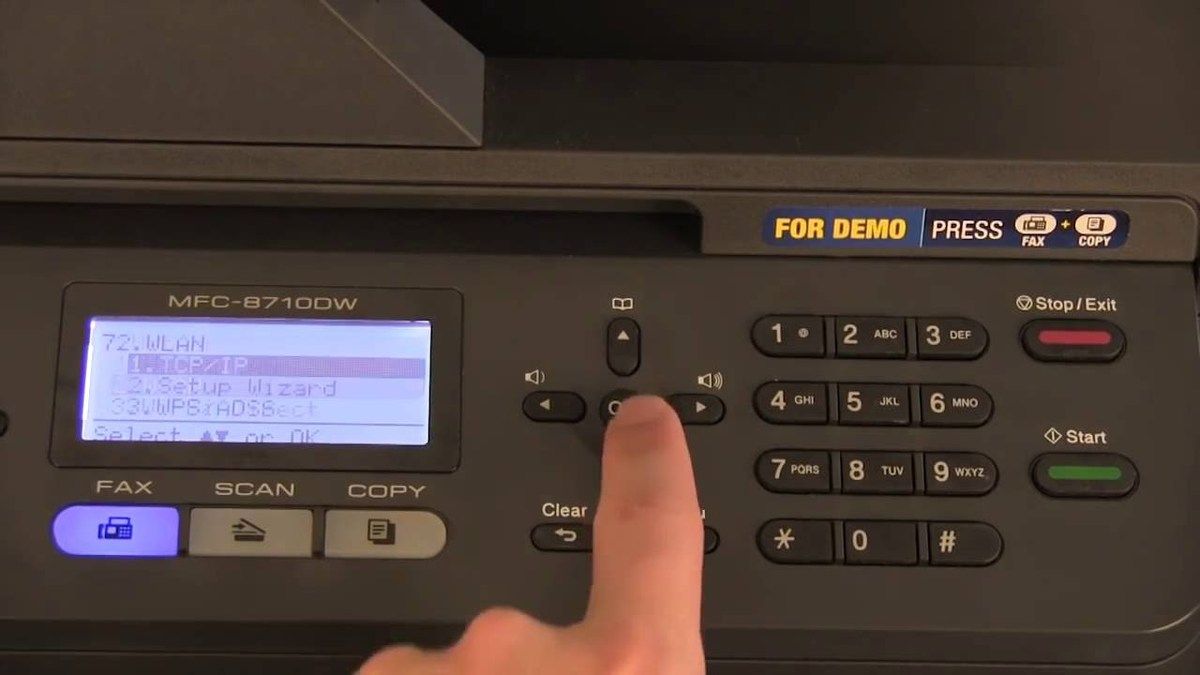
Use the control panel to set up a Brother Printer
- Connect the printer and turn it on to an AC outlet.
- Go to the menu and select “Network.” To choose WLAN, either press the Up or Down arrow keys. Pick Assistant Setup and press “Activate WLAN.”
You should be able to start the WiFi Wizard Setup after these steps. Stay until you get a list of available SSIDs. Choose your favorite network once you get the list and press OK.
Using a USB cable to set a brother printer
As mentioned above, your SSID, User ID, Authentication Method, and Password should be kept in a note.
- Attach your printer to an AC power cord at first.
- Turn on your machine as well as the printer.
- Run the CD-ROM on the drive of the CD.
For Windows Users:
- Choose your computer type and desired language when the installation screen appears.
- From the CD-ROM menu, pick Download Printer Driver.
- For User Account Control, License Agreement, and Wireless Network Communication options, pick Allow or No.
- Pick Network Printer from Brother Peer-to-Peer.
For Macintosh Users:
- Double press the Brother icon and simultaneously open the OSX app here.
- Choose the Wireless Network Communication option.
- From the list, select your Brother Printer and click Next.
Follow the on-screen instructions to start the Printer Driver. Click on “Yes, I have a USB cable to install,” and then select Next. Mark the Checked and then select Next as checked. Connect the USB cable to the printer and your PC now. This should open the tab “Confirmation of Installation.” All you have left to do is to confirm the displayed details.
If you do not locate the Network Name by chance, this means that the WLAN connection point is shut off. Or perhaps the printer is too far from the point of access. At this point, you’ll need expert assistance. If you don’t face such a problem, however, you could now Connect Brother Printer to wifi.
Share this post


To be informed of the latest articles, subscribe:
/https%3A%2F%2Fassets.over-blog.com%2Ft%2Fcedistic%2Fcamera.png)
Comment on this post
